December 6th, 2022
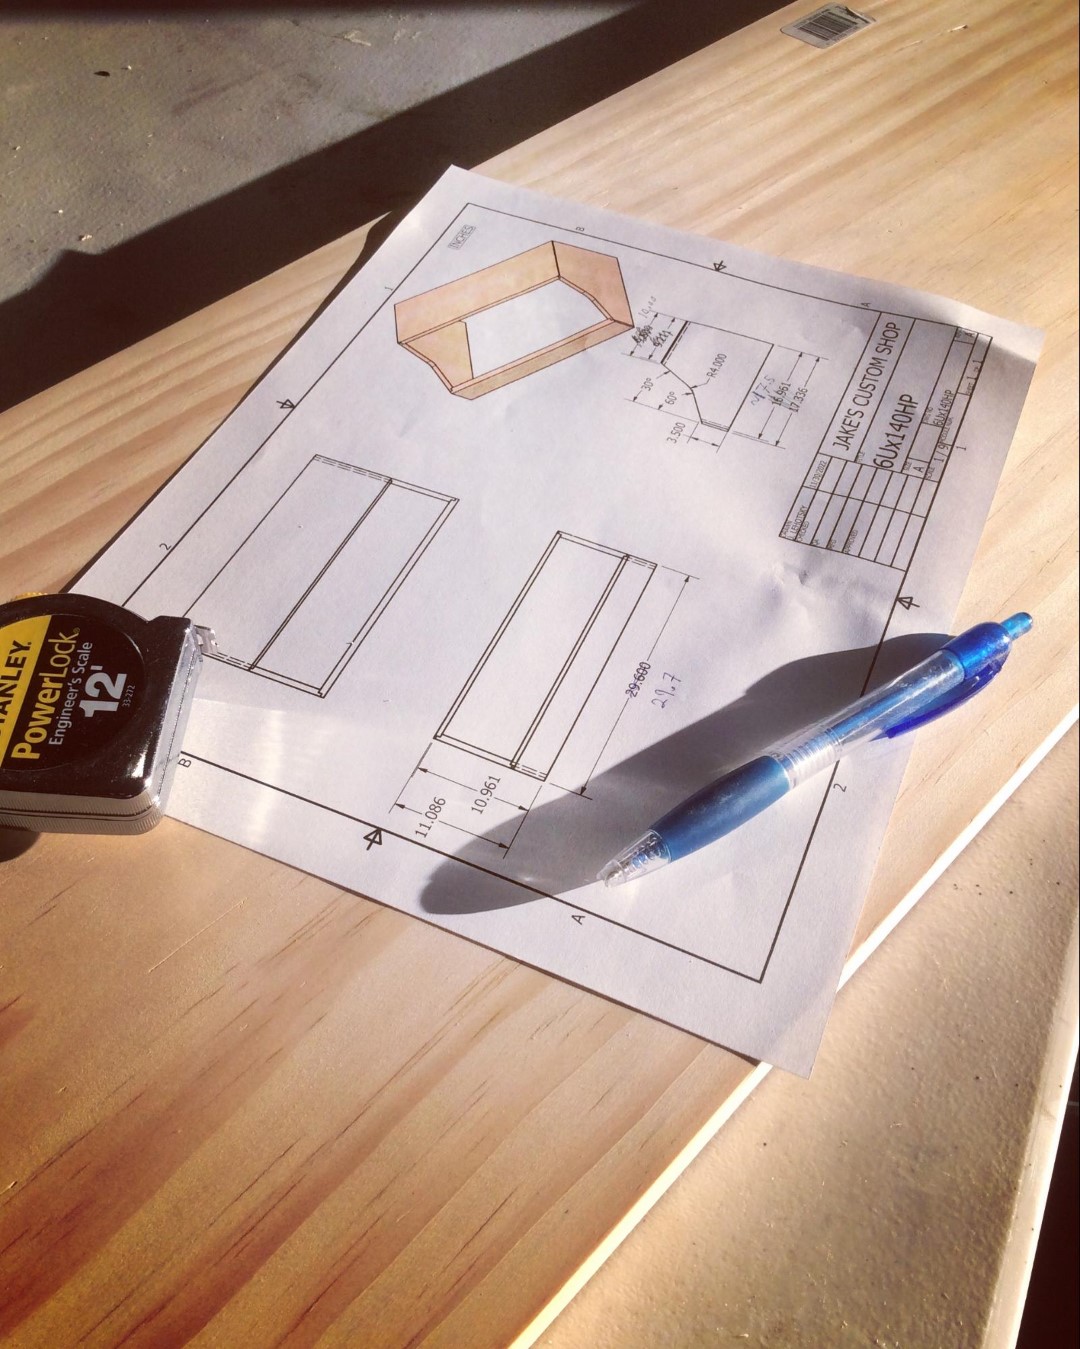
Woodworking is a lot like playing chess. In chess, a grandmaster thinks ten moves ahead. In order to win he must also predict his points of possible failure. A good craftsman plans his cuts like a playbook, thinking 10 operations ahead. In order to assemble a piece of art, he must foresee all points of failure. Designing and assembling a new build like the 6Ux140HP Base has felt a lot like playing chess.
The plan:
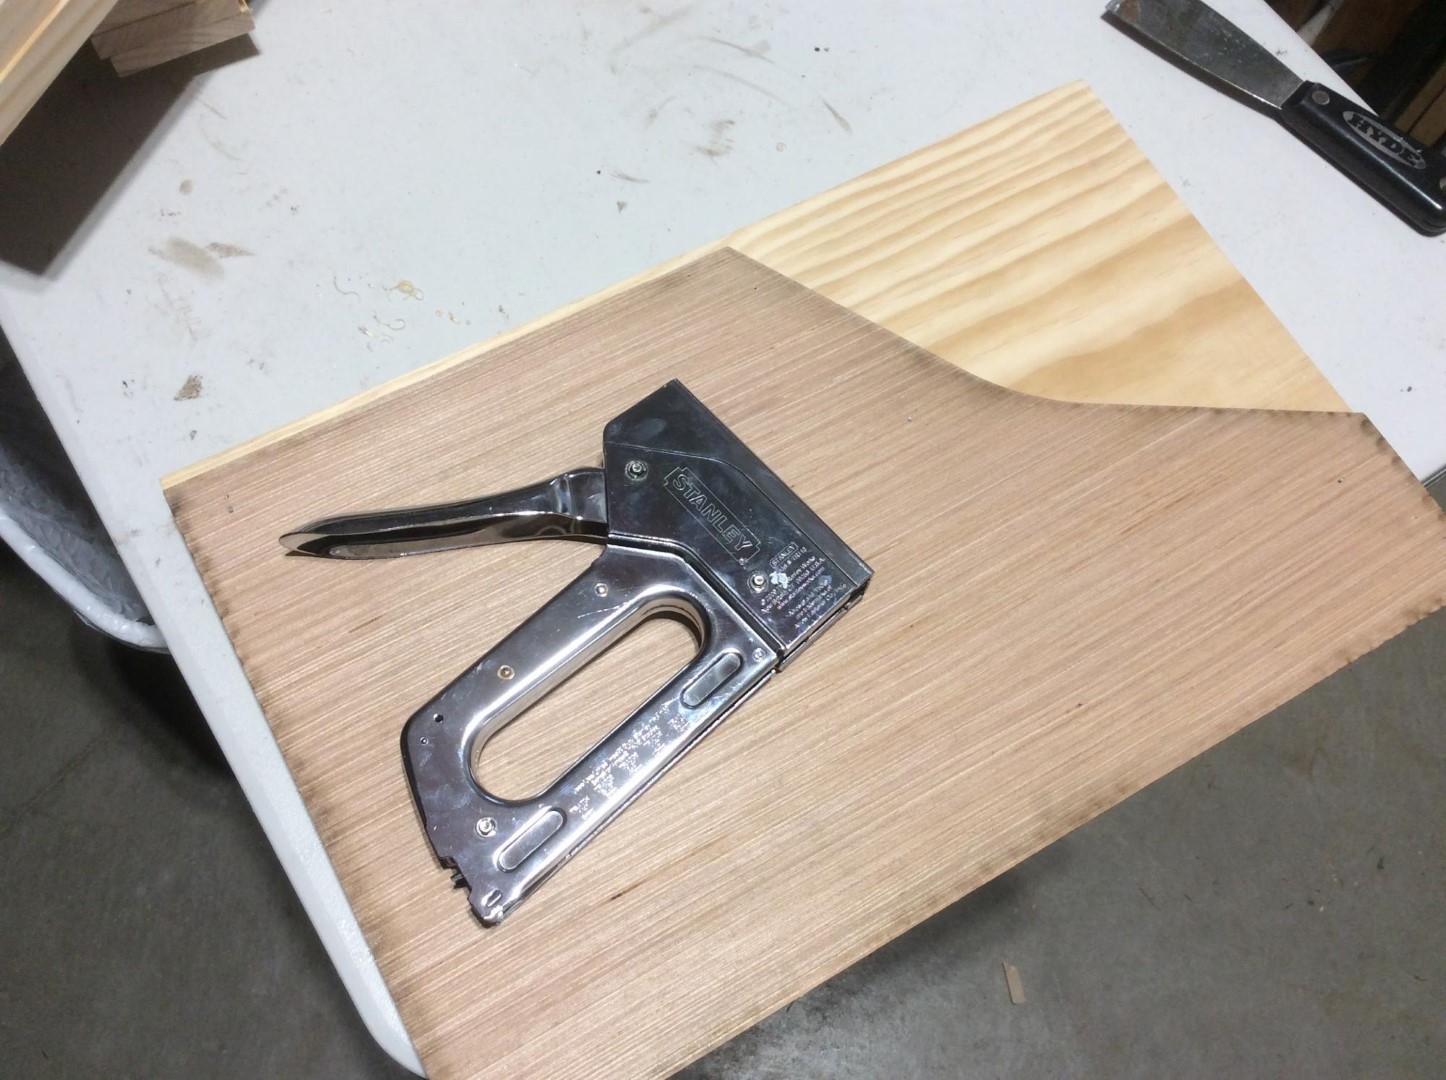
Cutting the side panels is a bit more complex, yet went exceptionally smooth. Here are a few tricks from the playbook. When laser cutting the template, it helped to label one side as “Right” to plan the assembly around the nicer side of the wood. I lasered two templates to do all the manual cutting without fussing around with other tools. Typically this process is done by gluing the template to the stock material, but glue is near impossible to sand off and creates a mess. Instead, brad nails joined the template and stock at the cost of only 3 tiny holes easily patched with wood filler on the inside of the eurorack case. This worked better than expected.
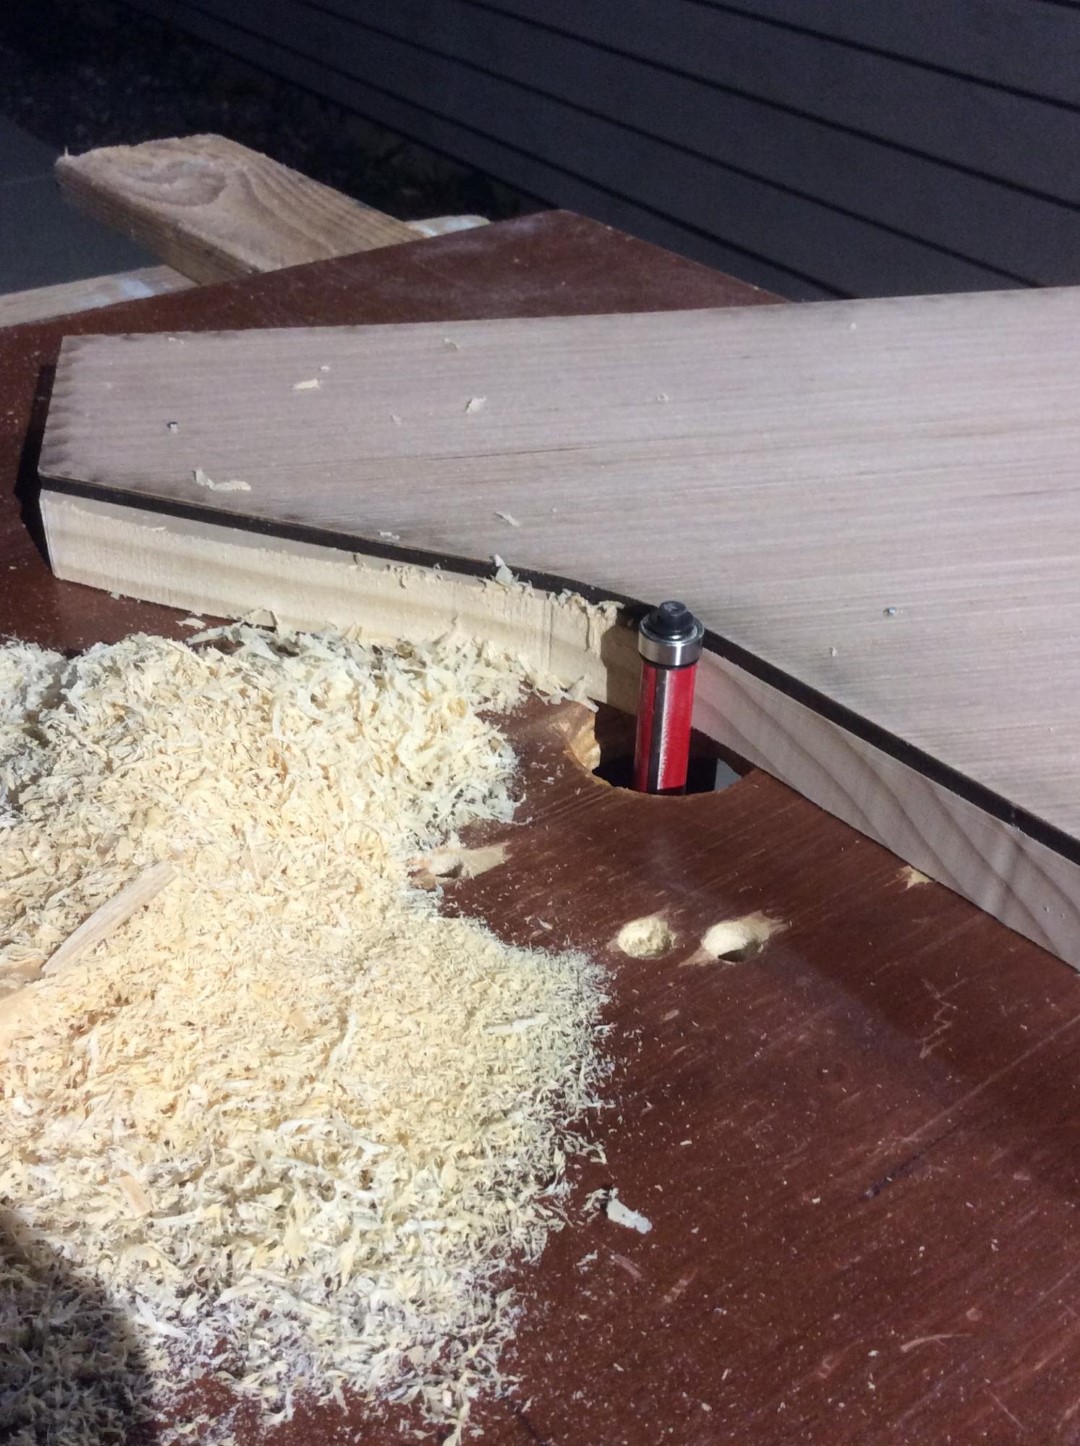
So that the router bit didn’t have to remove as much material, I used a jigsaw to get within about a quarter inch from the template. The router bit is 0.5inches wide, this is a lot of extra material to remove and is tough on the machine. Following the template with a templating bit on the router with a router table made for light work.