April 10, 2020
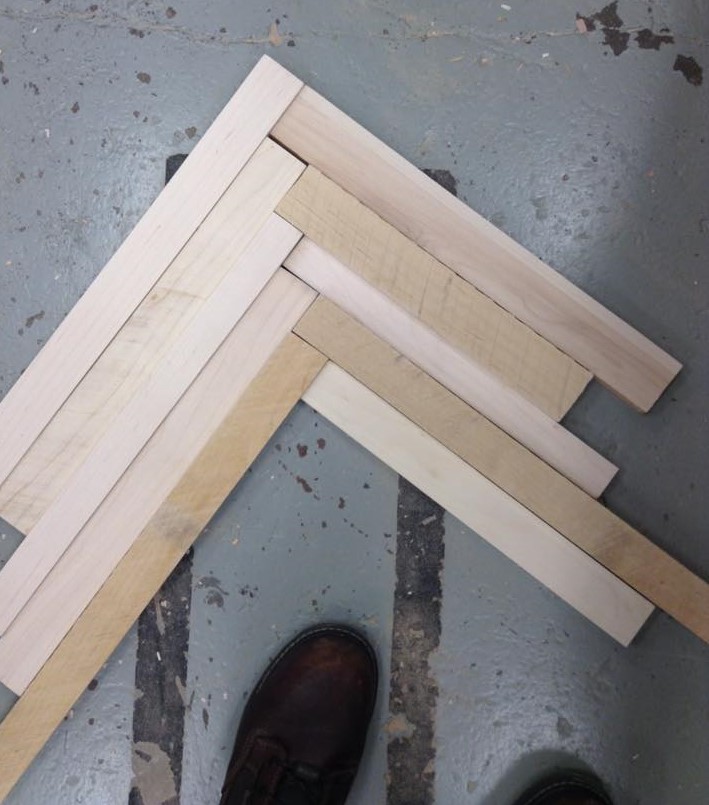
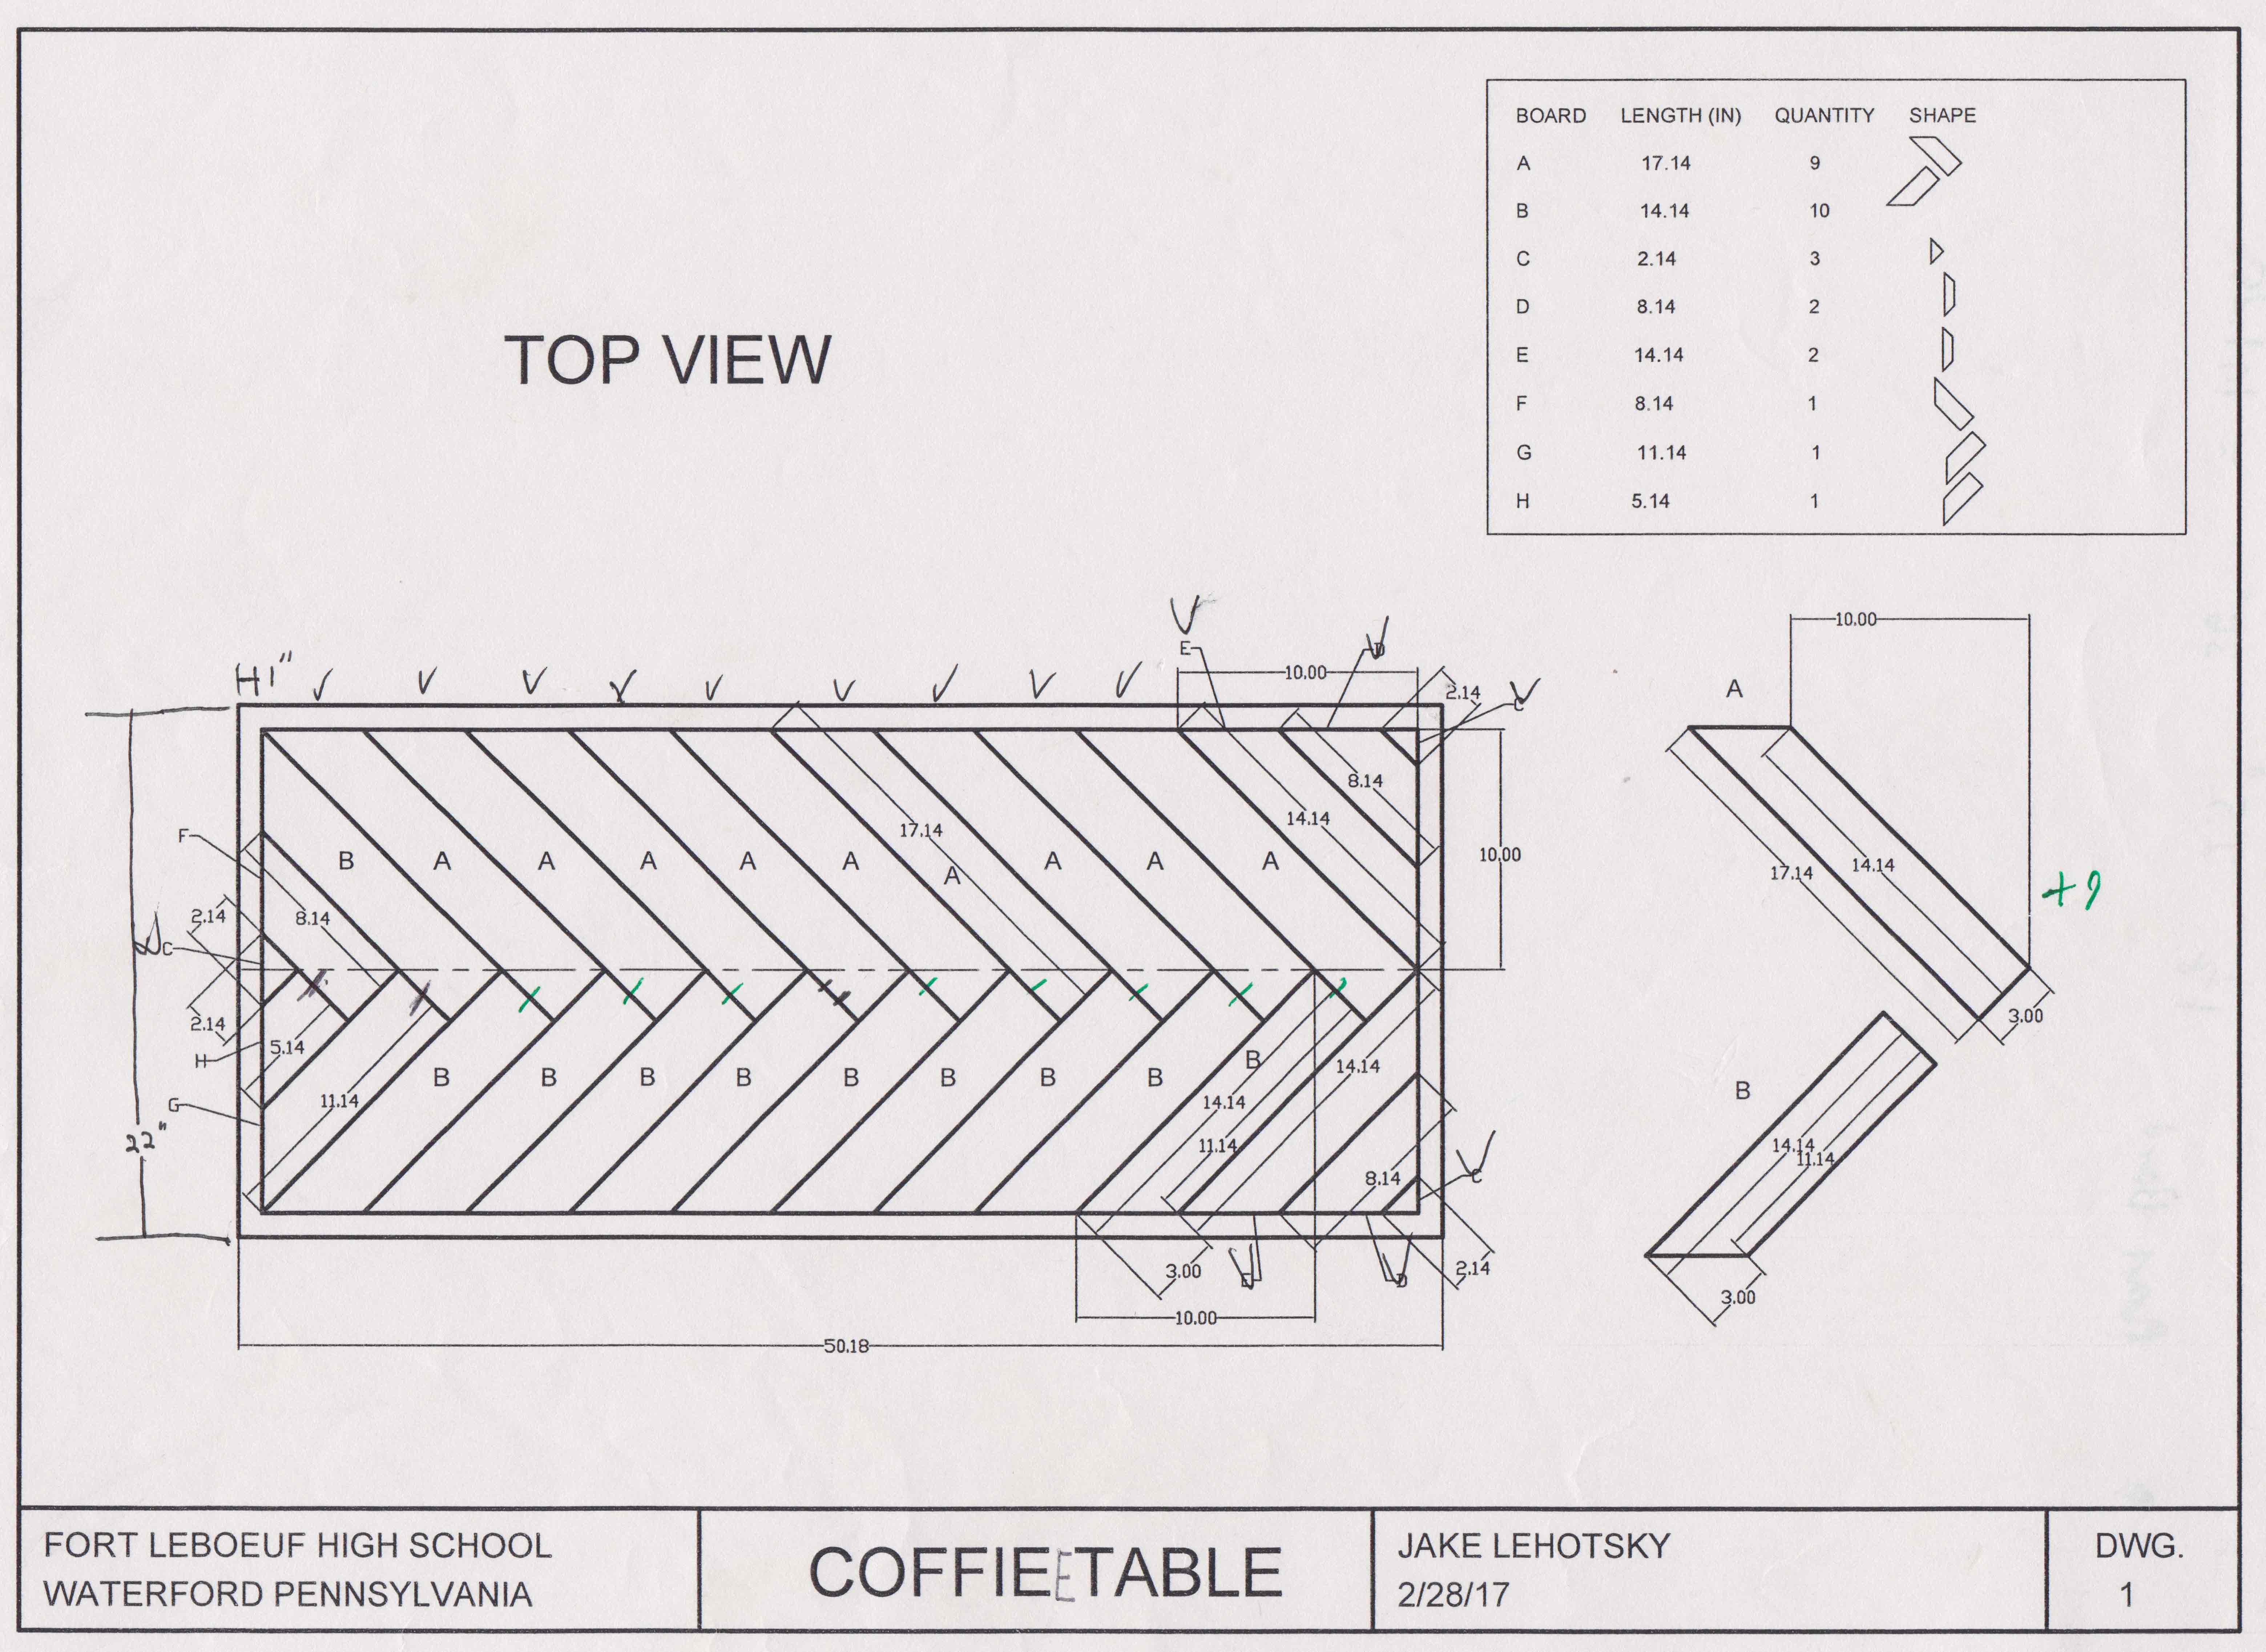
In my Senior year of highschool I took a cabinet making class. This was the advanced class in which my classmates had already made themselves a simple project like a coffee table in the preceding wood shop class. I didn’t have any need for a cabinet or dresser so instead I decided to make a nice coffee table to use while studying on the couch. Since this would be a simple project, I figured that I’d try to make an electric guitar too. I had a rough idea for my table. I wanted it to match the end-table I made during my freshman year of highschool. Somehow I came across an outdoor picnic table built with rough-cut lumber that had an interesting design. Instead of having a few long boards running tangent to the length of the table, the top was made out of shorter boards at 45-degree angles making a sort of ‘V’ pattern along the length. I was hooked on this design.
In the same way as my “Jake’s Custom Shop Sign,” a simple project became extremely complex. The fundamental challenge I faced was how to make each section of wood fit together without any gaps or holes. It also had to be perfectly smooth since I wouldn’t be able to use the planner to remove discontinuities in the face. My most time consuming hurdle for this project was the process that would enable each piece to be assembled absent of error. Do I use glue, or screws? Do I assemble one side and then the other? How do I make a perfect rectangle? How does one clamp across a 90-degree angle? How do I make each piece exactly the same size? All of this engineering took over one month of prototyping and refining prior to making any cuts.