December 13th, 2022
Cutting the chamfer onto the top panel was somewhat difficult. This required setting a circular saw to a 60 degree angle and aligning a guide using a 4-foot length of wood. It’s a lot of fussing around to get everything lined up perfectly.
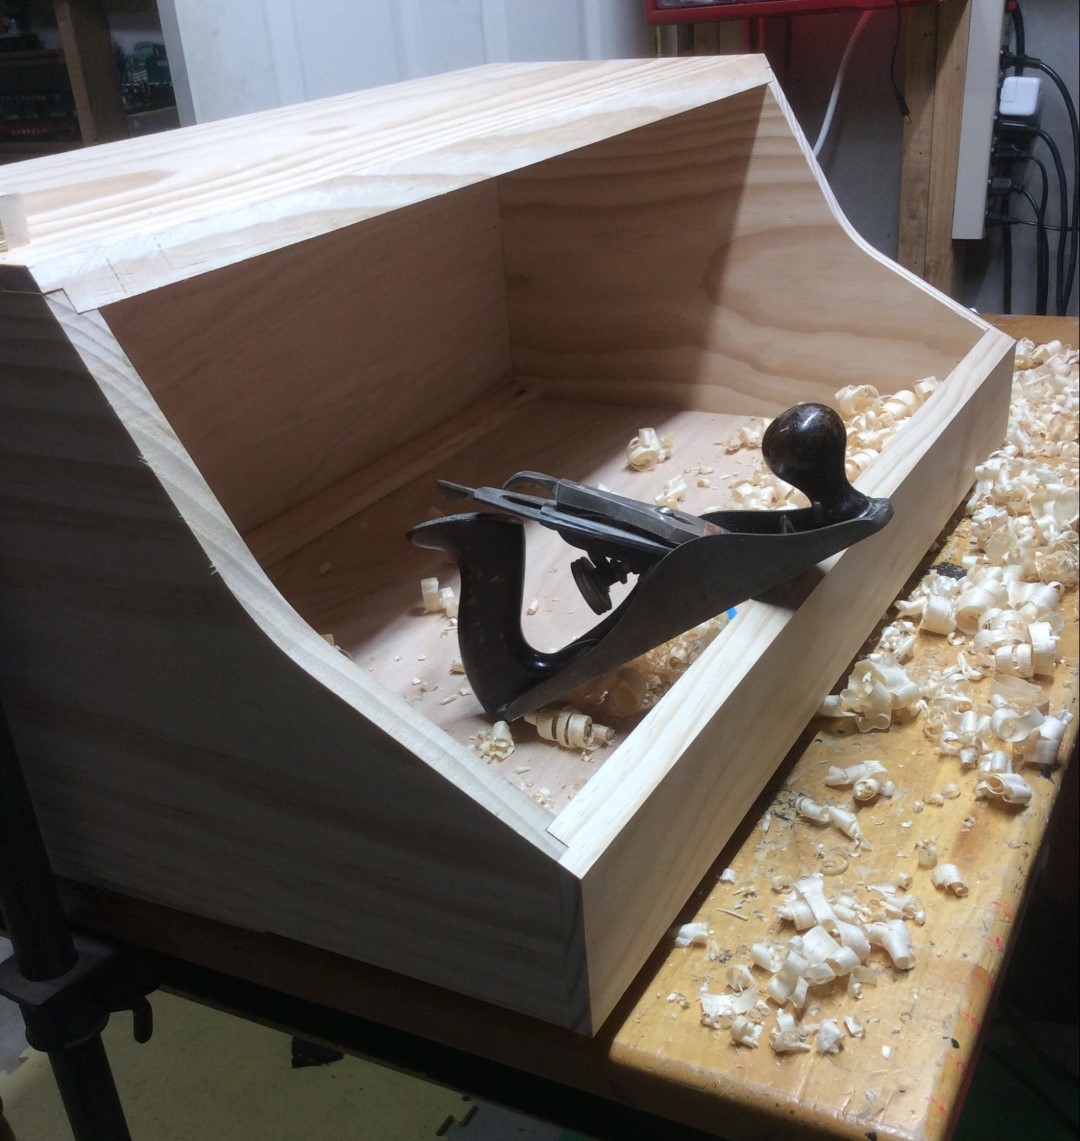
The hand planer is totally underrated. I use it to chamfer edges of a board to prevent splitting, remove a precise amount of material from the edge of plywood, start a round-over to reduce sanding time, and of course plane the face of a board. Another use is to chamfer an edge. The chamfer on the front panel was done by extending the angle of the side panels onto the front panel with a ruler. I then clamped a length of wood across the front to use as a pencil guide to mark the lowest part of the chamfer.
You could easily do this with a table or miter saw, but there’s something that makes using old-school hand tools satisfying that 85 razor blades spinning at 5000 RPM doesn't. Hand tools, and the hand-planner especially, are incredibly underrated and under used.
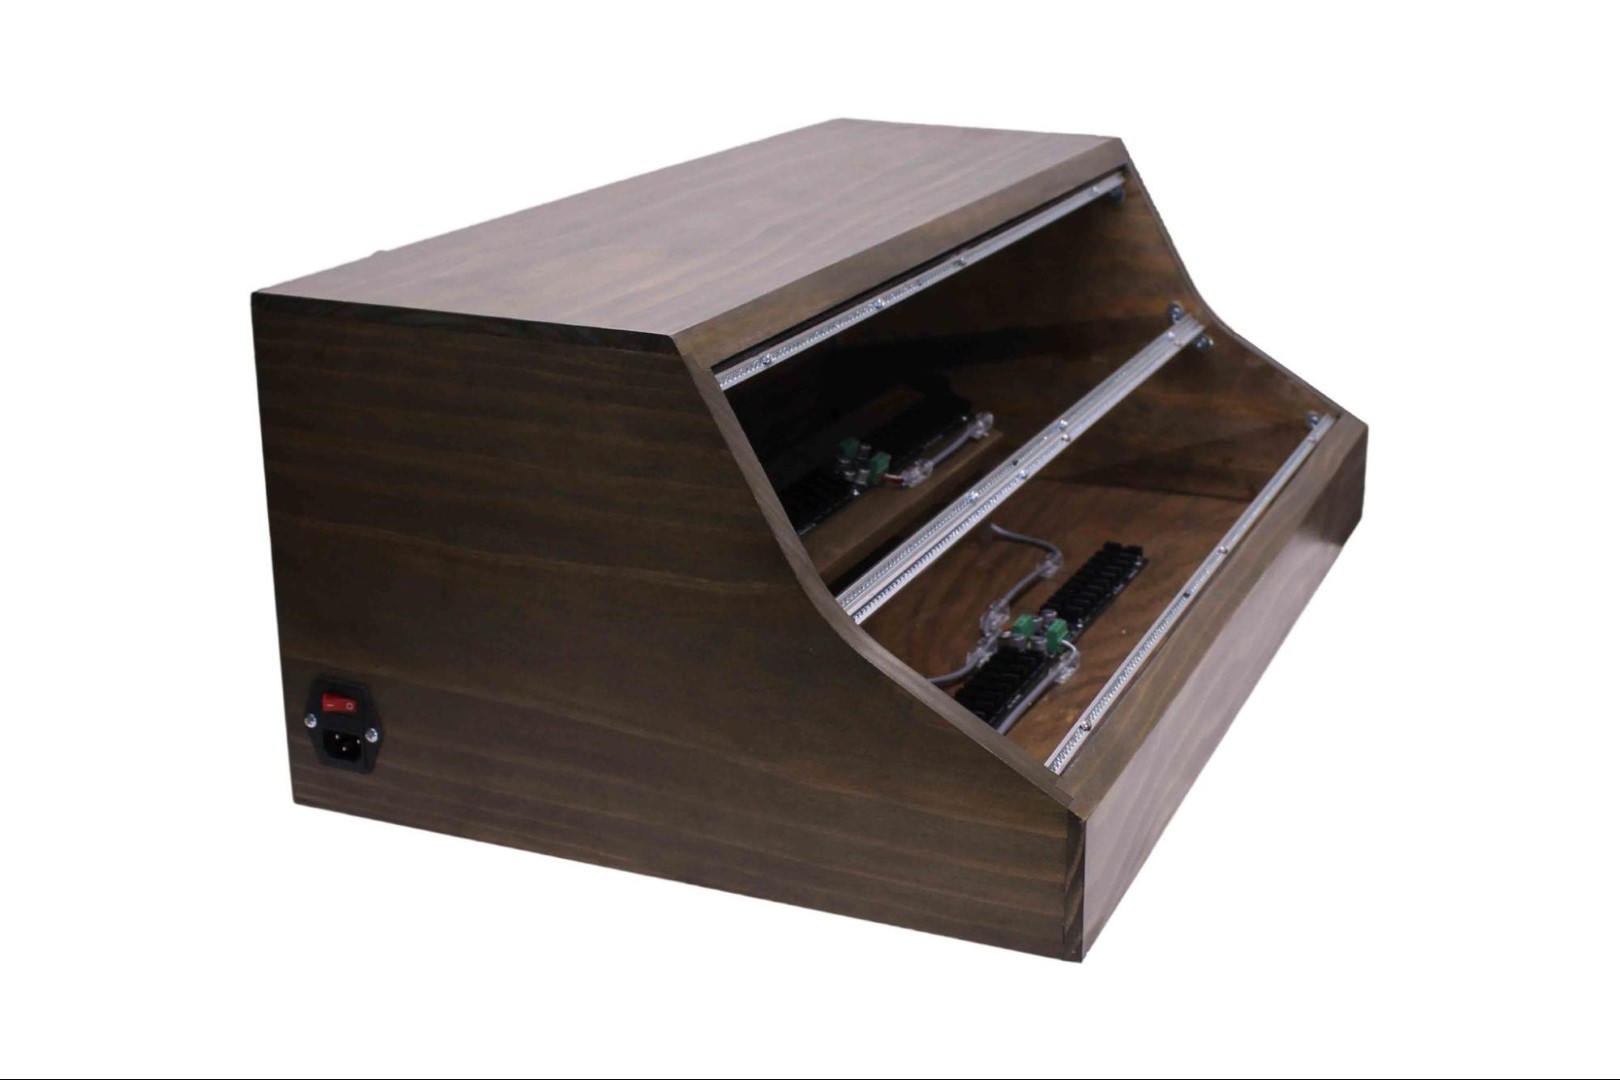
The remainder of the 6Ux140HP base was much like any other Jake’s Custom Shop Eurorack case. Sand, stain, poly. Install the power system, then the rails and finally give it a good test. I’m pleased with how this one turned out. Next I will make a 150HP one to match a standard System 55 case.